
Installing Valheim mods with the Valheim Mods tab
What this is about
Every Valheim server has a Valheim Mods tab that connects to Thunderstore, the mod site used by r2modman and the Thunderstore Mod Manager. From it you can search and install mods, switch them on and off, update or remove them, and import a whole r2modman profile with one code. The panel puts the files in the right place on the server, including the BepInEx mod loader, so there is nothing to download or upload yourself.
Mods are picked up when the server starts. After any change you'll see a blue Restart the server for them to take effect notice; restart from the Console tab when you're ready.
Before you start: BepInEx
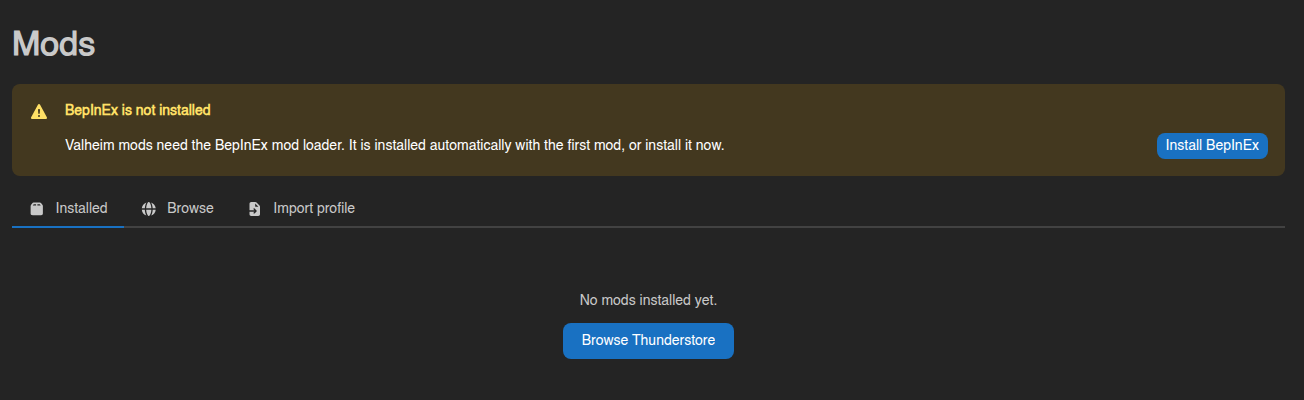
Valheim mods need the BepInEx mod loader. You don't have to think about it: it is installed automatically with your first mod (every Thunderstore mod lists it as a dependency), or click Install BepInEx in the yellow box at the top of the tab. Once it's there, the tab shows a green "BepInEx vX installed" line instead.
Your server's Startup tab has a Load BepInEx variable (default 1).
Set it to 0 to start the plain, unmodded game without deleting any mods, for
example to check whether a problem is caused by a mod.
Importing a profile from r2modman (quickest)
If you already play with a mod set in r2modman or the Thunderstore Mod Manager, export it as a code and import it in one go:
- In r2modman open your profile and choose Settings → Profile → Export profile as a code. Copy the code (it looks like
2b7f1c9e-4d3a-4e8b-9c1f-6a5d8e2b3c4d). - In the panel open Valheim Mods → Import profile, paste the code and click Preview.
- Check the list. Each mod shows NEW, INSTALLED (already on the server at that version), UPGRADE or DOWNGRADE, and a disabled in profile badge if you had it switched off in r2modman.
- Leave Write the profile's config files on if you want your r2modman settings copied to the server (they go to
BepInEx/config, overwriting files with the same name). - Turn on Remove mods that are not in the profile if the server should end up with exactly the profile's mods. Off by default, so existing mods stay.
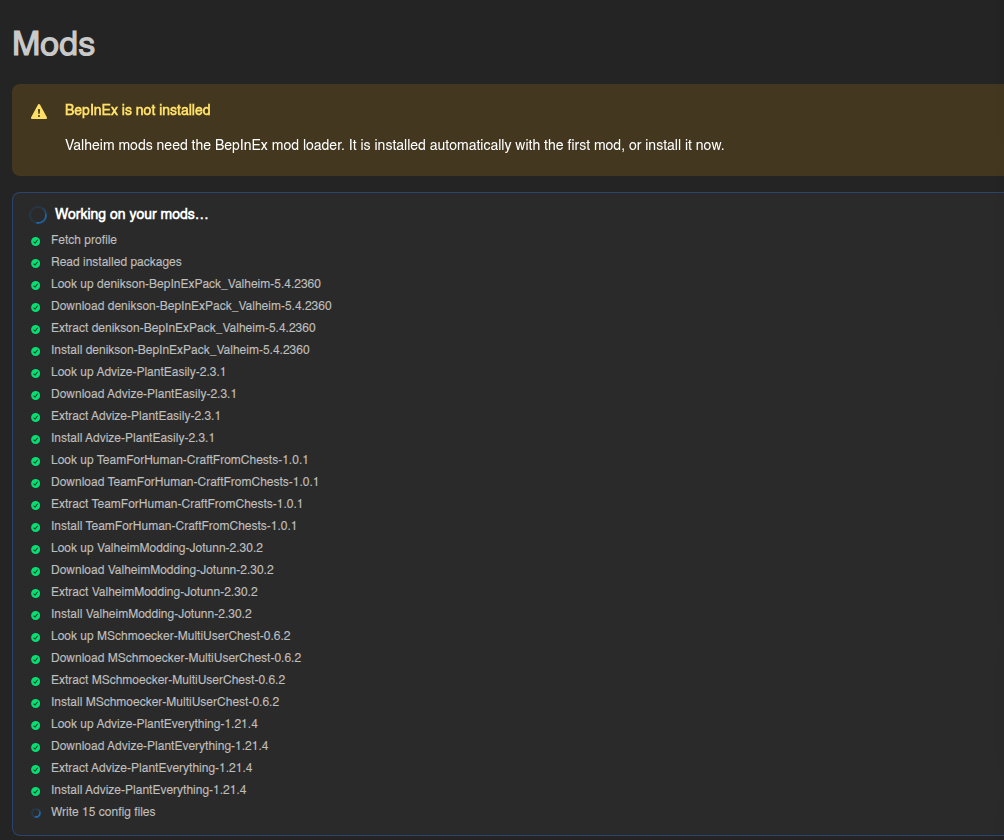
- Click Import profile and watch the progress list. Restart the server when it says Mod job finished.
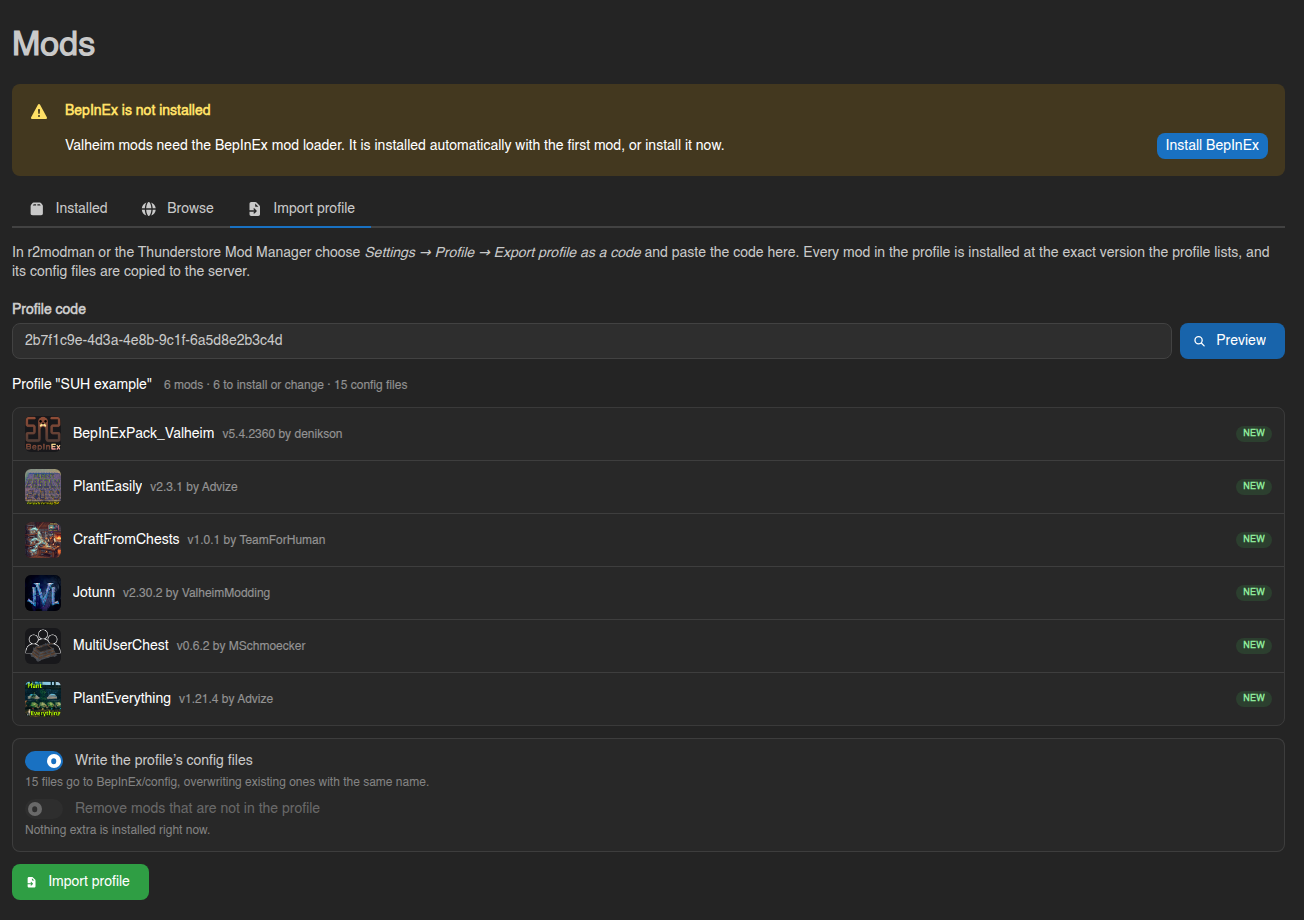
A profile installs the exact mod versions it was exported with, so your server matches your own game. Keep the server and the players' r2modman profile in sync: when you update mods in r2modman, export a new code and import it again.
Installing a single mod
- Open Valheim Mods → Browse.
- Type in Search Thunderstore (results update as you type; scroll down for more) and change Sort by if you like.
- Click Install on the mod's card. The ↗ button opens the mod's Thunderstore page in a new tab.
- The install window lists what will be installed: the mod itself plus anything it depends on, with the reason (Required by …). Pick an older release under Version if you need one; Latest is the default.
- Click Install, wait for Mod job finished, then restart the server.
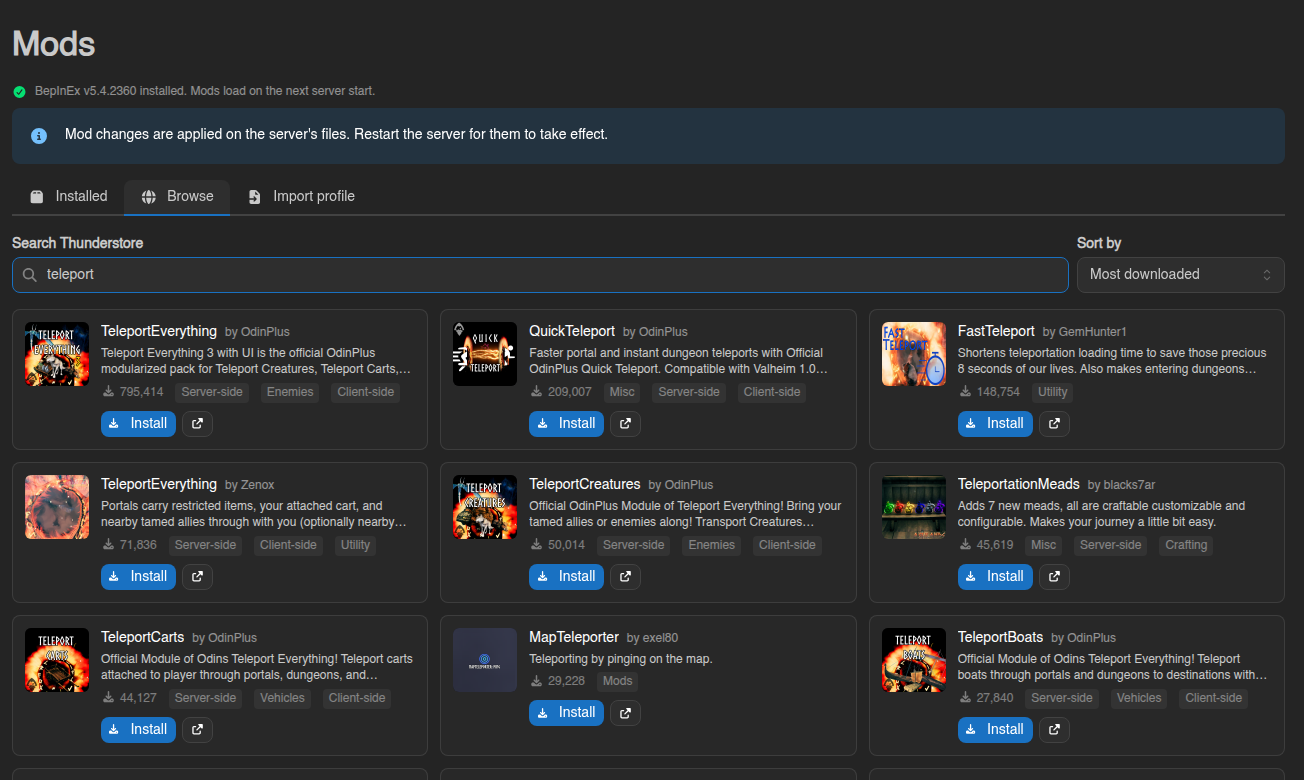
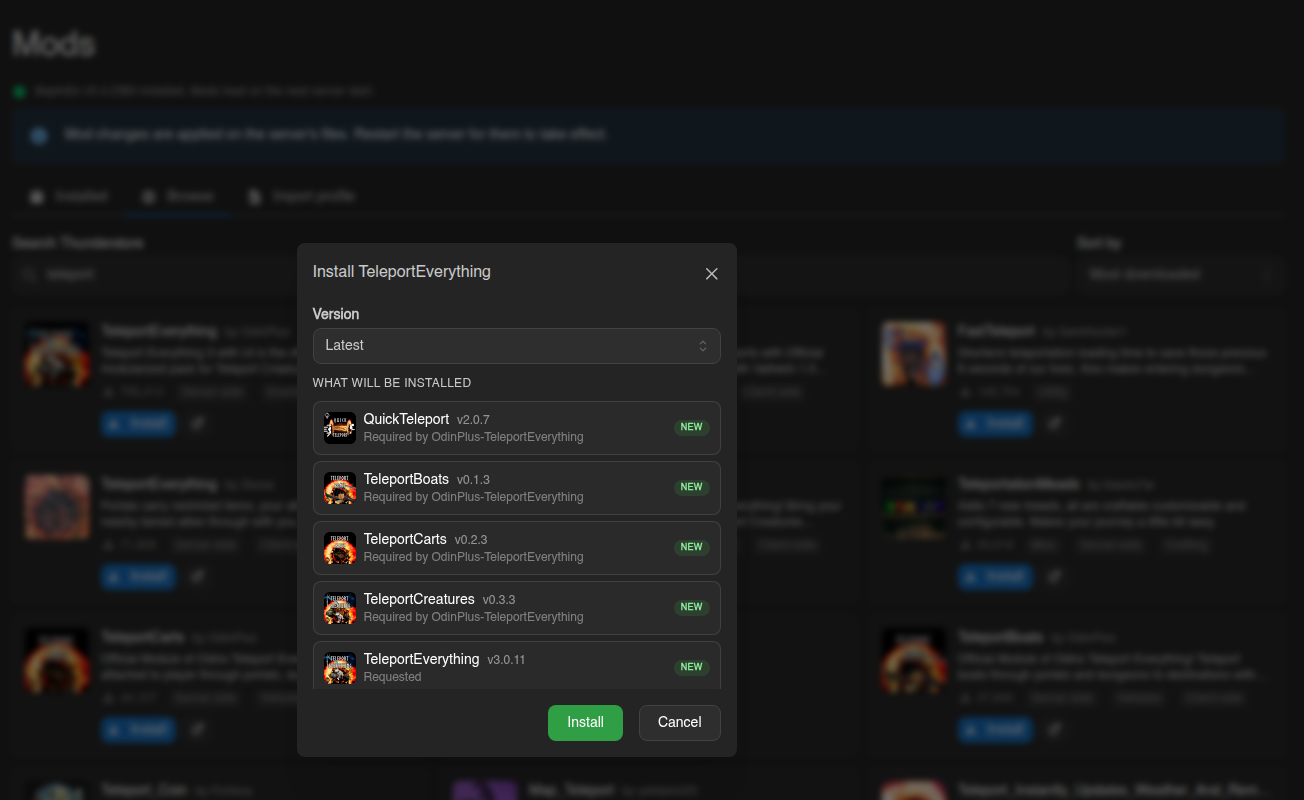
Mods that are already on the server show an Installed badge on their card. Click it to change to a different version.
Seeing what's installed
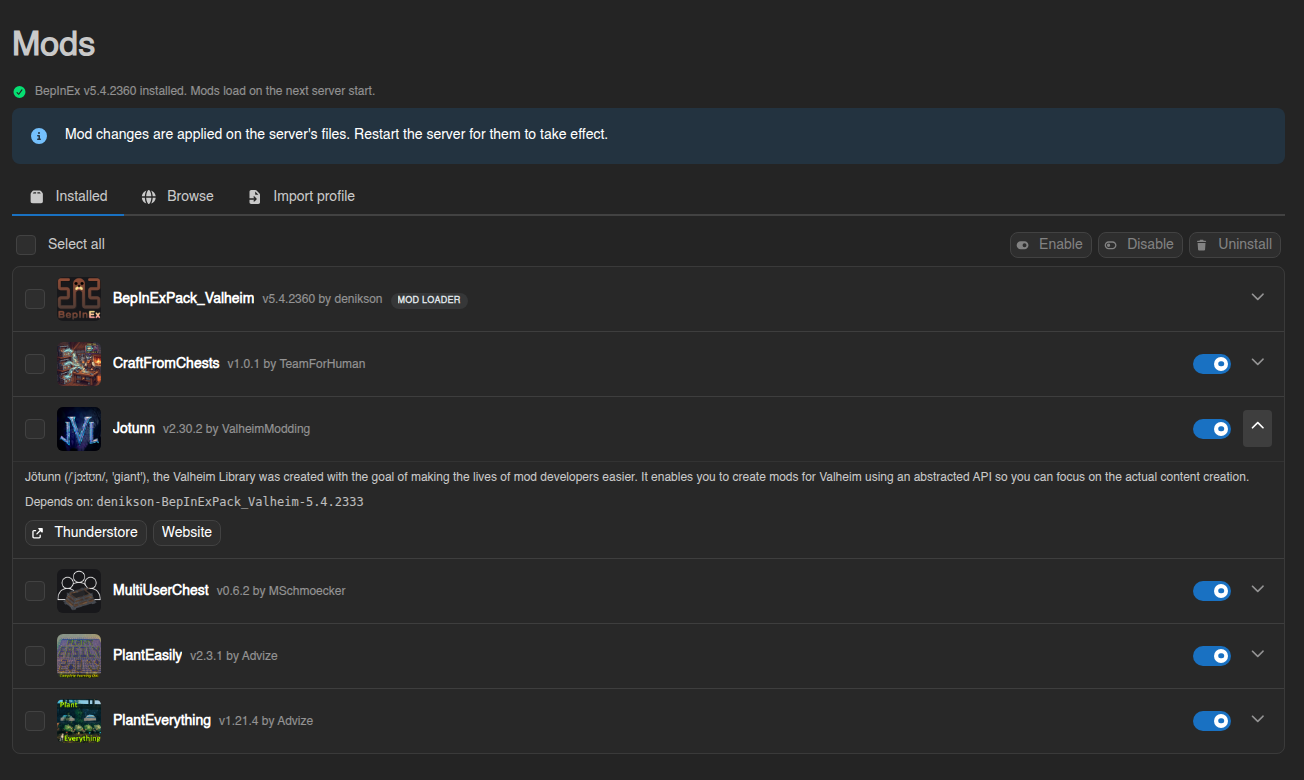
The Installed tab lists every mod on the server with its version and author. The mod loader is always first and marked MOD LOADER.
- Click the ˅ arrow on a row to see the mod's description, what it depends on, links to its Thunderstore page and website, and an Update to vX button when a newer release exists.
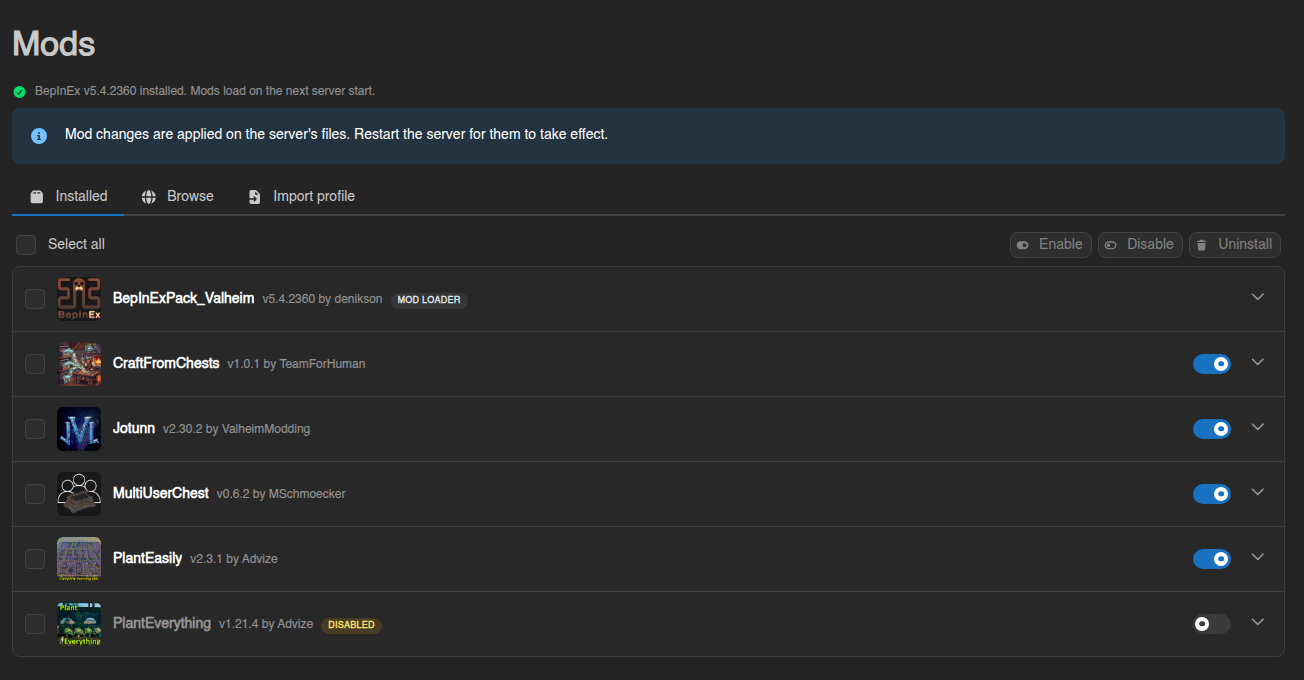
- The switch on the right turns a mod on or off without removing it. Off mods get a yellow Disabled badge. The mod's files and settings stay on the server, so turning it back on is instant.
Enabling, disabling or removing several mods at once
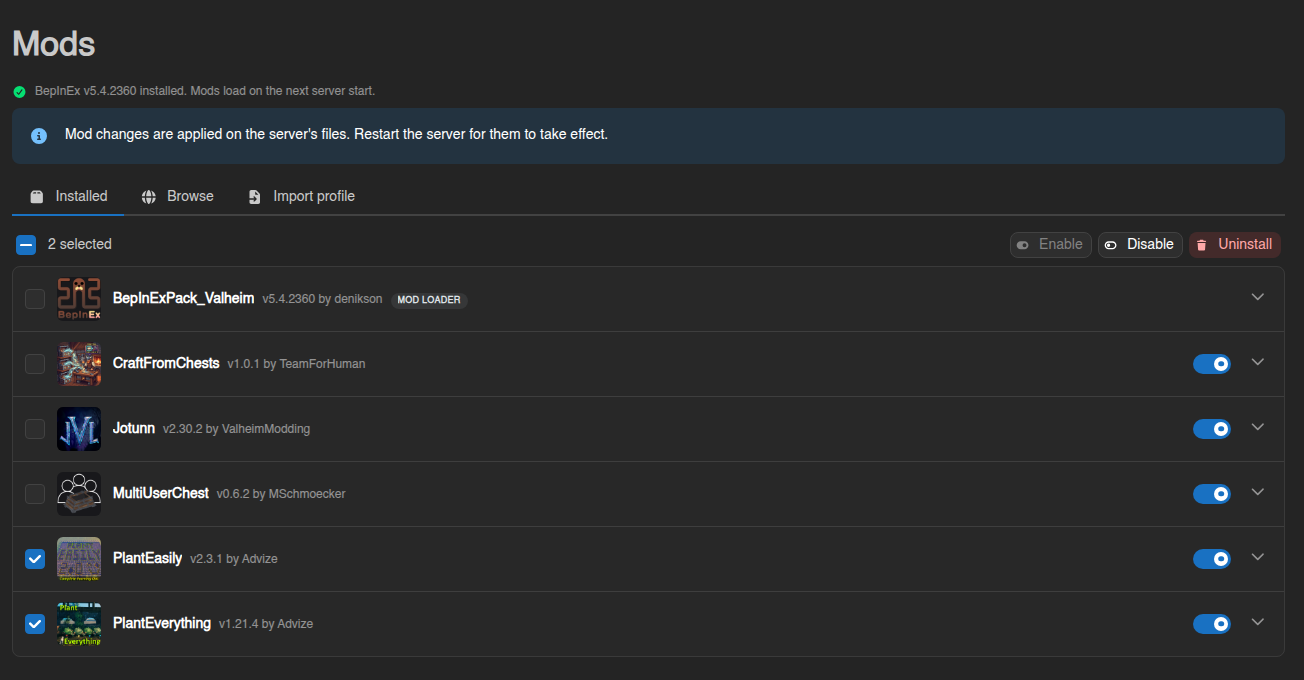
Tick the boxes on the left (or Select all) and use the buttons above the list:
- Enable / Disable switch all selected mods.
- Uninstall removes the selected mods' files. Their settings in
BepInEx/configare kept, so a reinstall picks them up again.
The mod loader can't be removed while mods are installed. Uninstall the mods first, then BepInEx.
Updating mods
Expand a mod on the Installed tab: when Thunderstore has a newer release you'll see a blue vX available badge and an Update to vX button. The update keeps the mod's config file.
Good to know
- One job at a time. Installs, imports and bulk changes run as a job on the server; while one is running the others wait. The progress box shows every step, and a failed step tells you why.
- Players need the same mods. Most Valheim mods must be installed on both the server and every player's game. Share your r2modman profile code with your players so everyone runs the same versions.
- Config files live in
BepInEx/configand can be edited in the Files tab. Mods create them on first start. - Logs: if a mod misbehaves,
BepInEx/LogOutput.logon the server (Files tab) lists every plugin that loaded and any errors. The same lines appear on the Console at startup. - Something broke? Set Load BepInEx to
0in the Startup tab and restart: the server runs unmodded while you sort it out, with all mod files left in place.
No comments to display
No comments to display